Building your 1st API with RAW and GitHub
RAW provides an integration with GitHub, which allows you to manage the code and settings for your APIs in GitHub. With it, RAW automatically manages your APIs whenever you push new code or branches to GitHub. The GitHub integration is what allows individuals to manage large sets of APIs effectively, and for teams to collaboratively build and host APIs with RAW. It allows for better structuring of APIs, including versioning, testing, CI/CD, safer migrations of production APIs, and more.
To use this integration, you need to:
- create a GitHub repository;
- create a
raw-site.ymlfile in the root of the GitHub repository, with repository-specific settings; - create a YAML and Snapi file with the API definition and source code;
- install the RAW GitHub app on that GitHub repository, which enables the integration between the two platforms;
- push code to the GitHub repository.
At this point, any changes to the GitHub repo will be automatically made visible in production. GitHub branches and pull requests are also supported for testing, CI/CD, etc.
Quickstart Guide
Let's create your first RAW API hosted in GitHub.
Step 1: Create and populate the GitHub repo
For this demonstration, let's create a new repository in GitHub and populate it with an example that contains a single API endpoint.
Create the GitHub repo
First off, we create a new GitHub repository, which we can raw-demo.
If you are not familiar with GitHub and how to create new repositories, check this quickstart guide to creating a GitHub repo.
Start by cloning your newly-created GitHub repository to your local machine. If you are not familiar with GitHub and how to clone repositories, check this guide on cloning GitHub repos.
At this point, you will have an empty directory (perhaps with a README.md file) that looks like the following:
$ cd raw-demo
$ ls
README.md
Add raw-site.yml
Let's now create the raw-site file, which must reside in the root of the repository.
This file is used for repository-wide configuration.
The presence of this file also indicates that this is a repository with API definitions for RAW.
It it does not exist, the repository will be ignored by RAW.
This file should have the following contents:
raw: "0.10"
publishUrl: demo
enabled: true
Setting enabled: true means that the repository will be published.
If false, none of the endpoints are published.
The publishUrl setting specifies the root base path for the API structure.
It is an optional setting, and if not specified, the base path will be empty.
Otherwise, the path specified in publishUrl will be prepended to the APIs you define.
Therefore, in the example above, the base path for all APIs will be https://<organization>.api.raw-labs.com/demo/,
where <organization> corresponds to your organization name and demo is defined in the publishUrl setting.
At this point, your repository should look like:
$ ls
README.md
raw-site.yml
Add the API code
To create an API, we must create two files:
- a file with the Snapi source code for the endpoint;
- a YAML file with the API endpoint definition.
First off, we create a sub-directory, called v1 for "version 1" of the API:
$ mkdir v1
$ ls
README.md
raw-site.yml
v1/
Then, we create a file called legislators.snapi in the v1 directory, with the following contents:
main(state: string = ".*", legislator_type: string = ".*", party: string = ".*") =
    let
        data = Csv.InferAndRead(
            "https://theunitedstates.io/congress-legislators/legislators-current.csv"
        )
    in
        Collection.Filter(data, x ->
            Regex.Matches(x.state, state) and
            Regex.Matches(x.`type`, legislator_type) and
            Regex.Matches(x.party, party)

        )
Finally, we create a file called legislators.ymlin the v1 directory, with the following contents:
raw: "0.10"
endpoint: GET
code: snapi
codeFile: legislators.snapi
format: json
computeClass: normal
enabled: true
cacheSizeMB: 10
computeLimitSeconds: 20
declaration: main
metadata:
  title: Legislators of the United States
  description: search by type, party and state
  tags:
    - government
    - USA
security:
  public: true
refreshSeconds: 60
This YAML file defines the actual API endpoint, including its metadata.
It also points to the codeFile that contains the Snapi source code for the endpoint,
as well as the declaration name to call in the file.
The API endpoint will be published in a path corresponding with the location and name of this file in the GitHub repository
(ignoring its .yml extension).
Therefore, the endpoint will be published at https://<organization>.api.raw-labs.com/demo/v1/legislators,
where <organization> corresponds to your organization name, demo is from the publishUrl setting of raw-site.yml,
v1 is the directory name inside the GitHub repo, and legislators is the file name of legislators.yml (without the .yml extension).
At this point, your repository should look like:
README.md
raw-site.yml            => Global settings for the repository
v1/legislators.snapi    => Snapi Source code
v1/legislators.yml      => Endpoint definition
Push to GitHub
You now need to push your code to the GitHub repository, e.g:
$ git add raw-site.yml v1/legislators.snapi v1/legislators.yml
$ git commit -a "My first API"
$ git push
Step 2: Authorize RAW
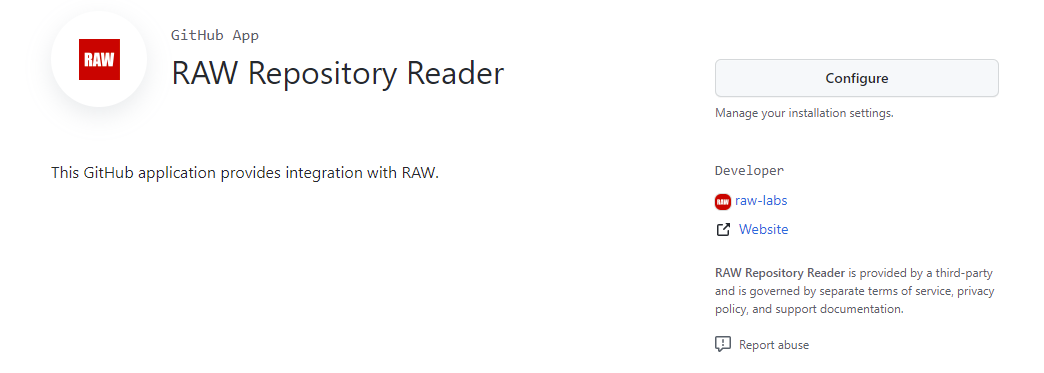
We are almost done, but every new GitHub repository needs to be authorized so that RAW can read it. This is done with the RAW GitHub Repository Reader App. You need to install the App on the GitHub repository where your RAW code is kept. This way, every time you will push new code there, the App will be made aware of it by GitHub and will be able to compile the code and deploy the endpoints in RAW.
First you need to click on the [Configure] button :
Then you need to chose where you want to install the App:
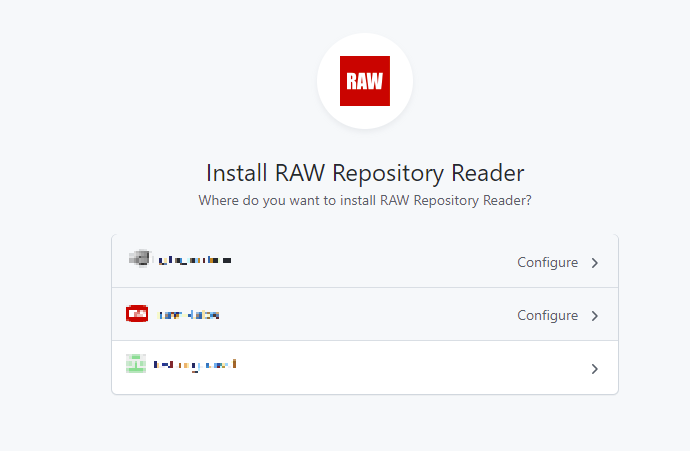
Then enter your GitHub password and chose which repositories you want to allow the app to run on.
The RAW GitHub Repository Reader App needs: Read access to code, metadata, pull requests, and repository hooks.

You can choose to grant access to all repositories you own, or only selected ones. After selecting 'Save', you will be redirected to an auth0 login page in order to login to RAW and complete the link.
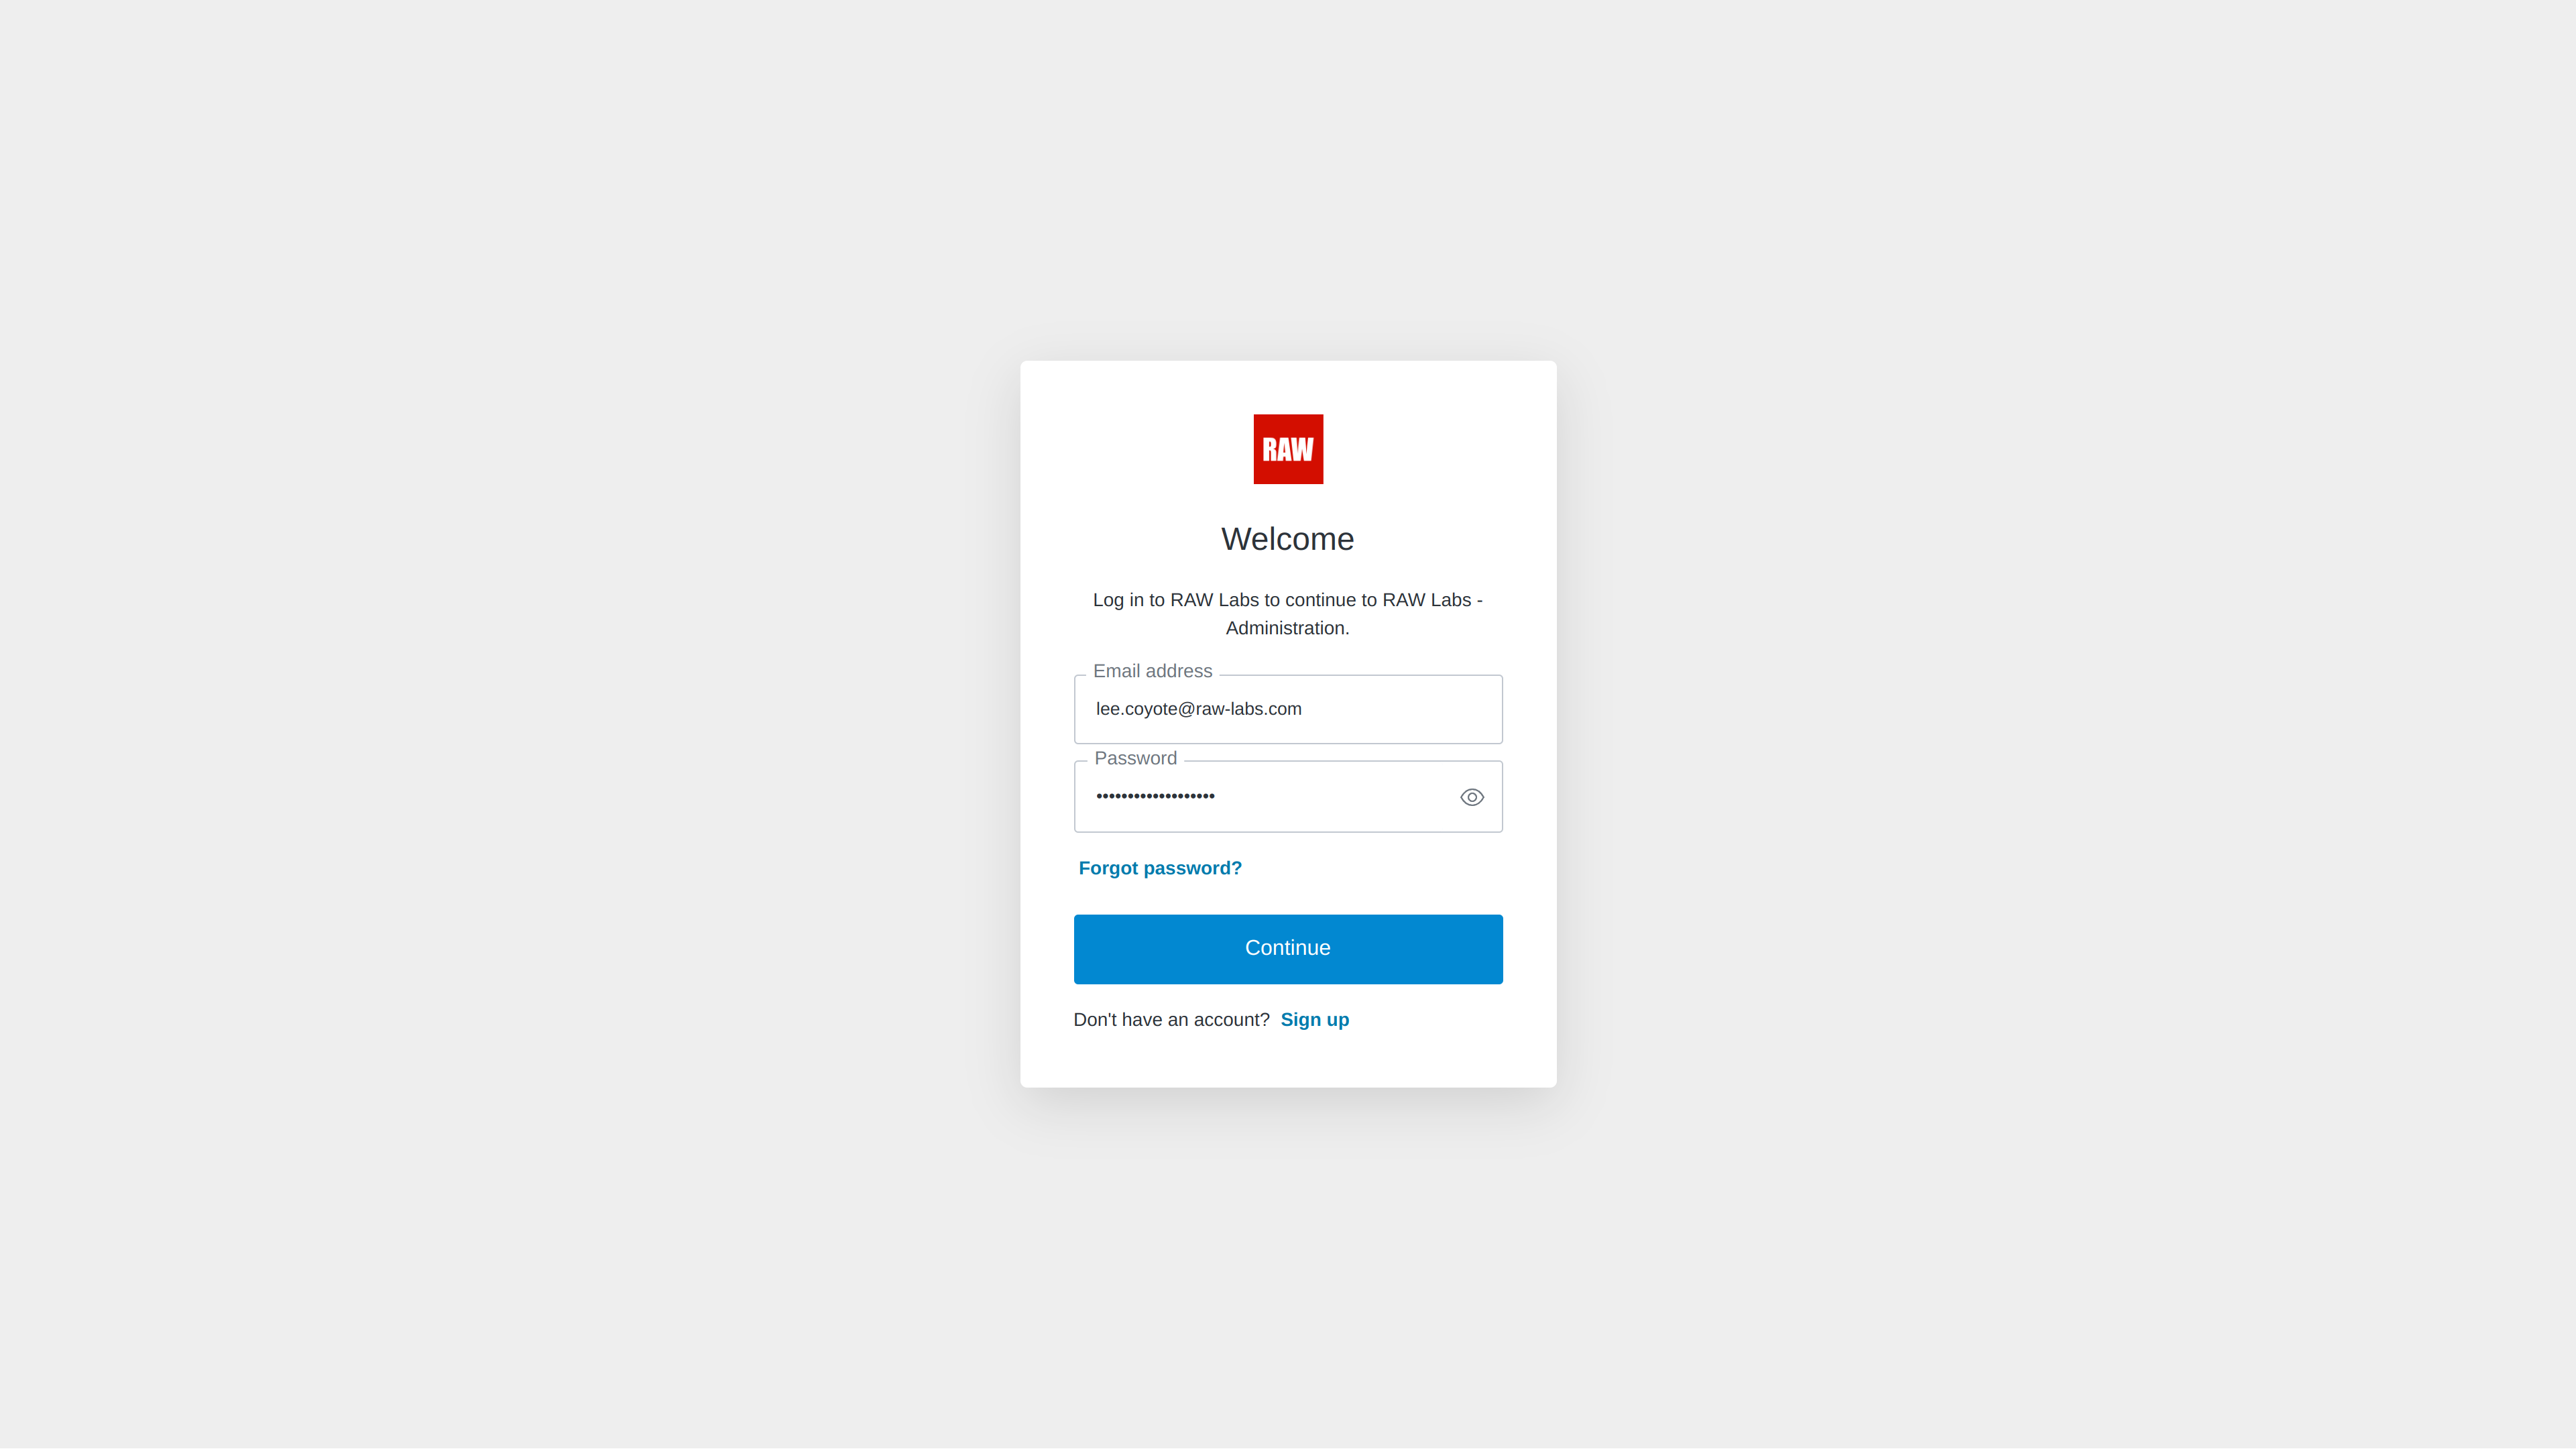
Upon entering your credentials, you will be redirected to the RAW application. and you will see a notification in the bottom right of your screen that your account is connected.
Your new API is ready!
Now that the link is established between GitHub and RAW, you are done!
Check the API is published correctly
Open RAW Platform and login.
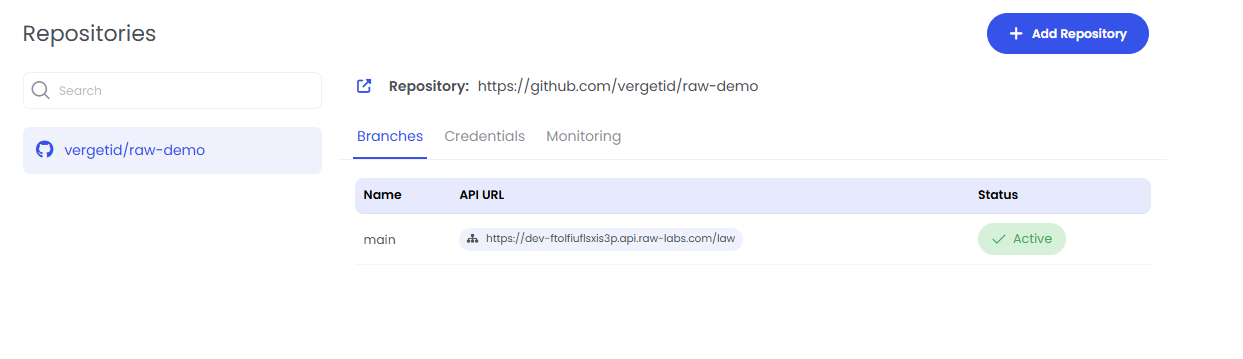
Click on "Repositories" on the left sidebar, and select your new raw-demo repository. It should show the main branch as Active:
Execute the API
There are many ways to use the API, you can use your browser or the curl command-line tool:
-
In a browser, paste the invocation into the address bar. Hit enter. You should get data returned in JSON form. If you need a JSON formatter for your browswer download an extension from one of the marketplaces. You can also test the parameters using the
?param1=value¶m2=valueafter your endpoint. -
Using curl you can execute at the command line, (Remember to replace
<instance-name>by the actual name of your RAW instance)
$ curl "https://<instance-name>.raw-labs.com/root/legislators?state=CA&type=rep"
Notes on Integration
Updating the repository
Whenever you update the repository and do a "git push", the re-deployment process will automatically start. This relies on a GitHub mechanism called "webhooks", which notify RAW whenever a GitHub repository has any modification. RAW will then read the new state of the GitHub repository, process those changes, and then serve the new API, which reflects the latest state of the repository.
Note that if anything goes wrong during the deployment (compilation error, missing values, YML construction errors...) none of the API endpoints will go live. The deployment process is atomic: either all endpoints automatically transition to reflect the new GitHub repo, or none will.
The deployment time may vary, depending on the number of endpoints, files, code length and complexity.
The API deployment status can be monitored in the Producer administration web interface, under the Monitoring tab.
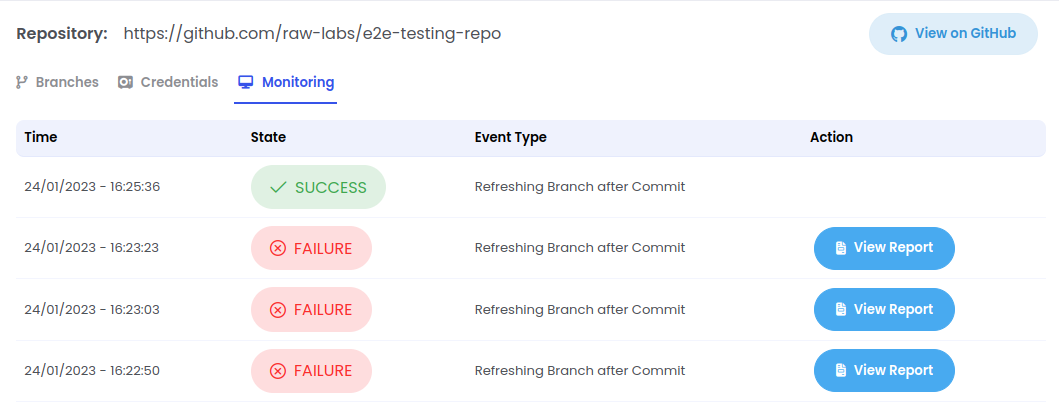
In this list, the state column can take three different values: "IN PROGRESS", "FAILED" or "SUCCESS". In case of errors, detailed information is available by clicking the Messages or Branches views on the right.
Disabling or removing an Endpoint
Disabling an endpoint is achieved by setting the enabled field to false in its YAML file and committing the change to GitHub.
The RAW repository reader app will notice the change and disable the endpoint.
Removing an endpoint is done by deleting the {endpoint}.yml file and committing the change to the GitHub repository.
Public APIs
To declare a public API, add the following definition to the endpoint YAML file:
security:
  public: true
A public endpoint can be access by anyone without any authentication or authorization.
For more information on the endpoint YAML definition, consult our reference guide.
Public APIs should be used carefully as any execution costs will be incurred on your account.
Private APIs
To declare a private API, add the following definition to the endpoint YAML file:
security:
  public: false
This is the default in case the security section is not included.
A private endpoint can only be accessed by members of the organization. Therefore, a valid OAuth access token must be included in the HTTP request.
In addition, private endpoints can have additional authorization restrictions in the form of scopes. Scopes are a list of strings included in the OAuth access token. Only tokens containing those scopes are authorized to access the endpoint.
For instance, assume an endpoint defined as:
security:
  public: false
  scopes:
    - department_head
    - hr
This endpoint can only be accessed by users or applications whose scopes include 'department_head' and 'hr'. All other users will not be authorized to access the endpoint.
In order for your clients to be able to execute a private endpoint, you can provide them with an API key that is associated to at least one scope that your endpoint has defined.
For more information on the endpoint YAML definition, consult our Endpoint configuration guide.
For more information on the endpoint protocol, consult our protocol guide.
Possible conflicts and conflict resolution
Changes are processed per branch. Within a branch, all endpoints are updated atomically.
Conflicts can occur when two branches (from the same or separate repositories) try to serve the same exact endpoint.
Suppose branch main is serving an endpoint at location /sales-per-country.
Now suppose a new branch is created, called new-sales-api. This is a "work-in-progress" branch, that is being developed. However, this branch also includes an endpoint at location /sales-per-country.
At this point, two branches would be trying to serve the same exact endpoint at location /sales-per-country., which means a conflict occurs. In this case, the update caused by the new-sales-api branch would fail. That's because the main branch is already published, and the new branch is trying to publish an endpoint that conflicts with an existing published one.
Moreover, note that the failure applies to all endpoints of that branch: if the new-sales-api branch includes other endpoints without conflicts, those are not published either, since the entire branch is not published. This is done to ensure that APIs always represent the state of the repository, and to prevent issues where two endpoints within a branch depend on each other but some could be published while others not.
The solution to solve conflicts is to ensure no endpoints use the same location. For instance, "work-in-progress" branches can rely on the publishUrl feature to add a prefix URL to all its endpoints, which reduces the possibility of accidental conflicts.
For instance, by adding the following to the raw-site.yml file:
publishUrl: test-branch
Then all endpoints for this branch will be prefixed with /test-branch.
Refer to the YAML reference guide for more information.