Getting started with RAW
If you have questions/comments, join us in our Community to learn more!
RAW is a platform to enable fast and easy access, integration, delivery and sharing of data services as APIs. This includes:
- Query multiple data sources in real-time including files, data lakes, databases and APIs;
- Integrate and transform data in real-time;
- Deliver and manage the data product output as APIs;
- Share access to the APIs with any number of users or applications.
RAW's use cases cover the entire data chain from acquisition, transformation as well as sharing.
RAW main features are:
- Runs in the Cloud in a scalable infrastructure that is fully managed for you.
- Supports various code development languages, including SQL and Snapi, a low-code data-oriented scripting language that is designed to handle the most complex data integration scenarios.
- Built for "developers first", with best-in-class development experience.
- Is DataOps-ready and "automation friendly", including Git integration and a built-in CI/CD infrastructure for testing and hosting data APIs.
Building your 1st API with RAW
Let's create your first RAW API. This should be pretty easy!
Here's what we will do:
- Discover our templates and pick your favorite template API: Explore our ready-to-use templates and find the perfect match for your needs.
- Set up your template API: Follow our intuitive wizard to set up everything step-by-step—no guesswork required!
- Deploy with a click: Instantly launch your brand-new template API! And that's it! It is ready for use!
Take some time to:
- Explore your first template API: See your new API in action and discover what it can do.
- Make it your own: Head over to the Workspace, tweak the code or settings, and redeploy your API.
- Celebrate your success: Your first API is up and running!
Now let's go step-by-step in some more detail!
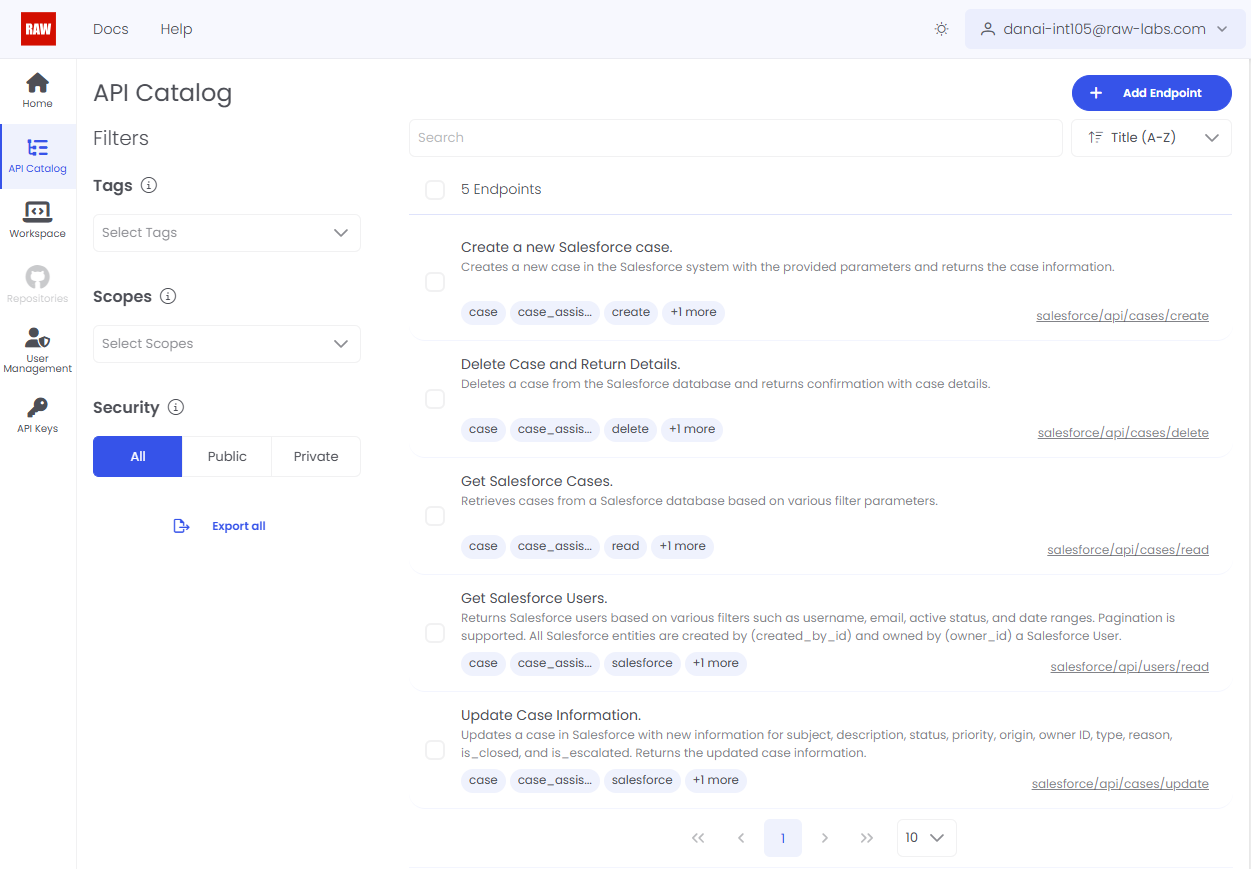
Start by exploring our collection of ready-to-use API templates . When you find one that fits your needs, click "Try it out" and then "Get started" to access the RAW Platform. The API setup process begins automatically. Once it's ready, your API template is instantly deployed into your API Catalog, ready for you to use!
Your API Catalog is your central hub for all your deployed API endpoints.

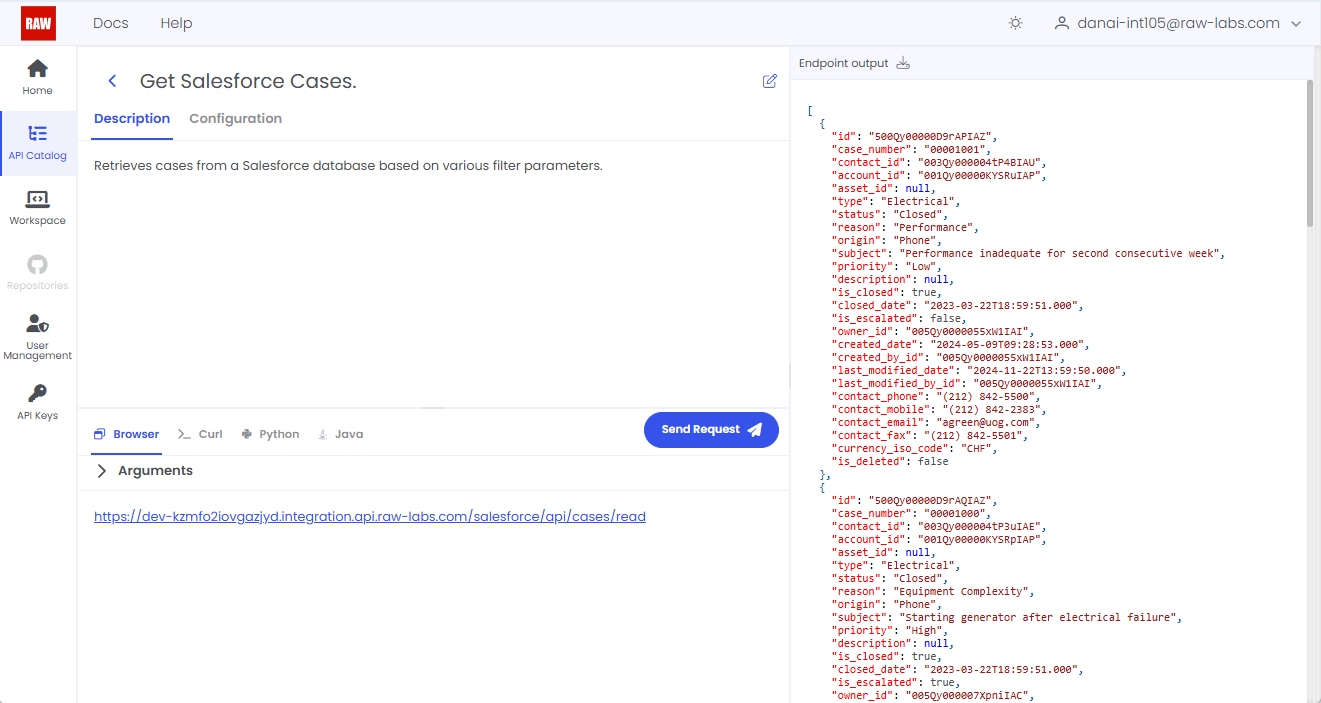
Click on any deployed endpoint in your API Catalog to view its details. Then, hit "Send Request" to call your endpoint—it’s ready to use!

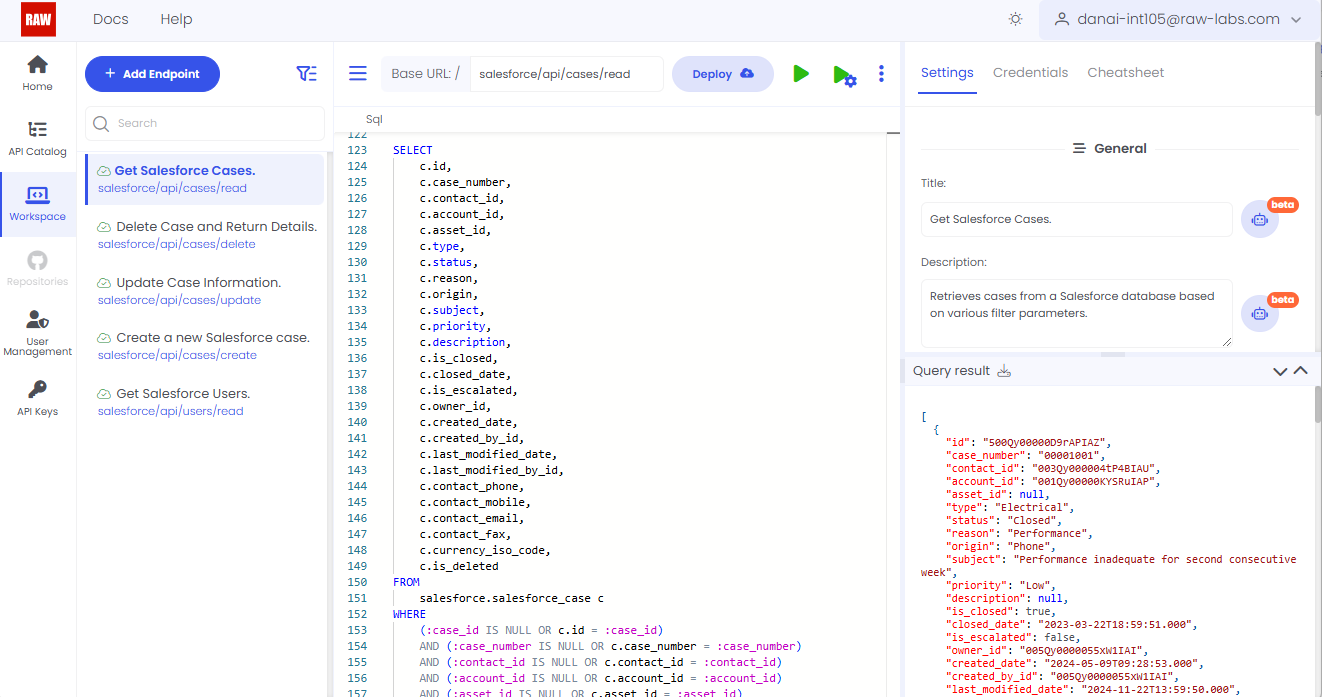
Visit Workspace to edit your endpoints. Select an endpoint and update its code as needed. To test your changes, simply click the Play button!

Finally, click "Deploy" to publish your latest updates and redeploy your endpoint. Once deployed, your endpoint is ready to use!
You can invoke it using some of the examples provided, e.g. CURL or others.
Congratulations! You created your first API in RAW in a few steps.
There is of course a lot more to RAW to explore next. You can learn about:
- Snapi's powerful features for querying and integrating data in real-time;
- quering, creating and updating data using SQL
- accessing data sources
- configuring output formats
- securing endpoints and monitoring activity;
- managing users and invitations;
- managing API keys;
- exploring the RAW catalog;
- use GitHub integration for teams to work collaboratively.
You will find pointers to all these topics in the index on the left-hand side. Keep on reading!
Ready to try it out?
Pick a template!Otherwise, if you have questions/comments, join us in our Community!